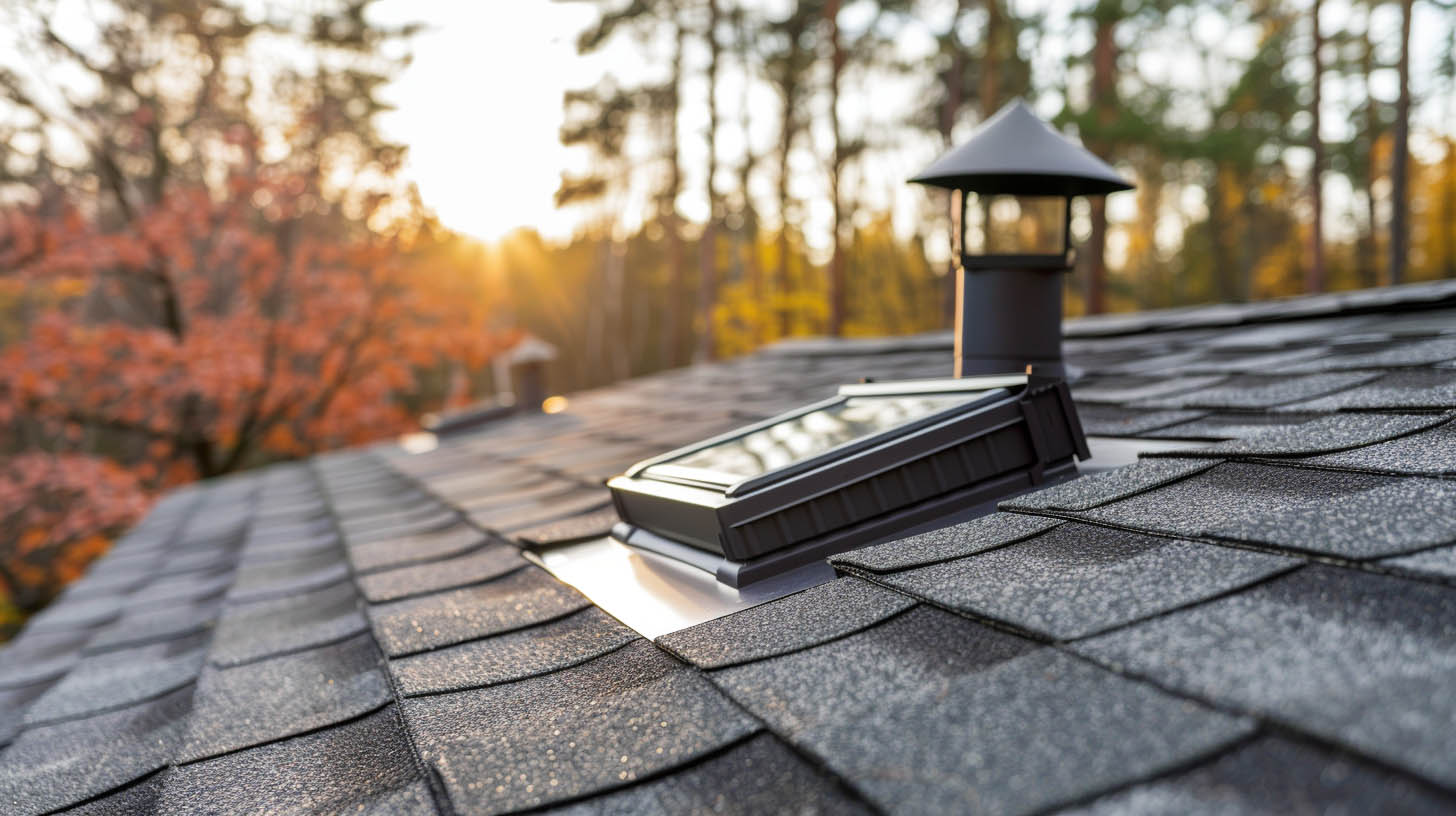
Proper ventilation in your attic is crucial for the longevity and efficiency of your roofing system. It helps regulate temperatures, prevent moisture buildup, and extend the lifespan of your roof. Here is a detailed guide on how to install a roof vent effectively, ensuring your home remains well-ventilated and protected against various weather conditions.
Understanding the Importance of Adequate Roof Ventilation
Effective attic ventilation is essential for several reasons:
Temperature Control: During hot months, vents help expel hot air, reducing the load on your air conditioning system and lowering energy costs.Moisture Management: In colder climates, proper ventilation prevents ice dam formation and reduces moisture accumulation that can lead to mold, mildew, and rot.
Extended Roof Lifespan: By preventing extreme temperature fluctuations and moisture-related damages, well-installed vents prolong the integrity of your entire roofing structure.
Selecting the Appropriate Roof Vent
There are several types of roof vents, each serving different architectural and climatic needs. Choosing the right one is critical for achieving effective air circulation:
Ridge Vents: Installed along the peak of the roof, allowing for uniform air exhaust.Soffit Vents: Paired with ridge or other exhaust vents to allow cool, fresh air into the attic.
Gable Vents: Installed on the ends of the attic, suitable for roofs without eaves.
Powered Vents: Use motors to expel hot air and are ideal for climates with extreme temperatures.
Preparing for Installation
Tools and Materials Needed
Hammer or nail gunUtility knife
Caulking gun and waterproof sealant
Drill with appropriate bits
Roofing nails
Vent unit
Safety Equipment
Sturdy ladderSafety harness
Gloves
Safety goggles
Installation Process
Step 1: Planning and Layout
Measure Attic Space: Determine the number of vents needed based on your attic square footage. The general rule is 1 square foot of vent area for every 150 square feet of attic space.Identify Vent Locations: Choose spots on your roof that will allow for balanced air intake and exhaust.
Step 2: Cutting the Opening
Mark the Area: Use chalk to outline the vent opening directly under the ridge or in the designated area for other vent types.Cut the Opening: Use a reciprocating saw to cut through the roofing material and sheathing. Be careful to stay within the marked lines.
Step 3: Installing the Vent
Position the Vent: Place the vent over the opening, ensuring it sits flush against the roof.Secure the Vent: Nail the vent into place, following the manufacturer’s instructions. Use a caulking gun to apply sealant around the edges of the vent to prevent water leakage.
Step 4: Finishing Touches
Seal and Waterproof: Apply additional waterproof sealant around the vent edges and over the nails for extra protection.Inspect Your Work: Ensure the vent is secure and there are no gaps around the installation area.
Post-Installation Tips
Regular Maintenance: Check and clean your vents periodically to prevent blockages that could restrict airflow.Monitor Attic Conditions: Keep an eye on attic humidity and temperature after installation to ensure the vents are functioning correctly.
Why Choose Summit Exteriors for Your Ventilation Needs
For residents in Coeur d'Alene, ID, Summit Exteriors provides not only installation services but also expert advice on choosing and maintaining the right ventilation system for your home. With over a decade of experience and a commitment to quality and customer satisfaction, Summit Exteriors ensures that every project meets the highest standards.
Conclusion
Proper installation of roof vents is essential for maintaining the structural integrity and efficiency of your roof. It prevents various issues caused by inadequate ventilation and can significantly reduce energy costs. For the best results, consider consulting with or hiring a professional like Summit Exteriors to ensure your roof vents are installed correctly and efficiently.


