

Guide to Flashing a Roof Hatch on Built-Up Roofs: Hot Method
- February 20, 2025
- Read Time: 11 min
Flashing a roof hatch effectively is pivotal in preserving the integrity of built-up roofs (BUR), particularly against water intrusion that can compromise the entire structure. This guide elaborates on the correct hot application technique for flashing roof hatches, ensuring a robust, watertight seal that extends the life of commercial rooftops.
The Critical Role of Effective Flashing
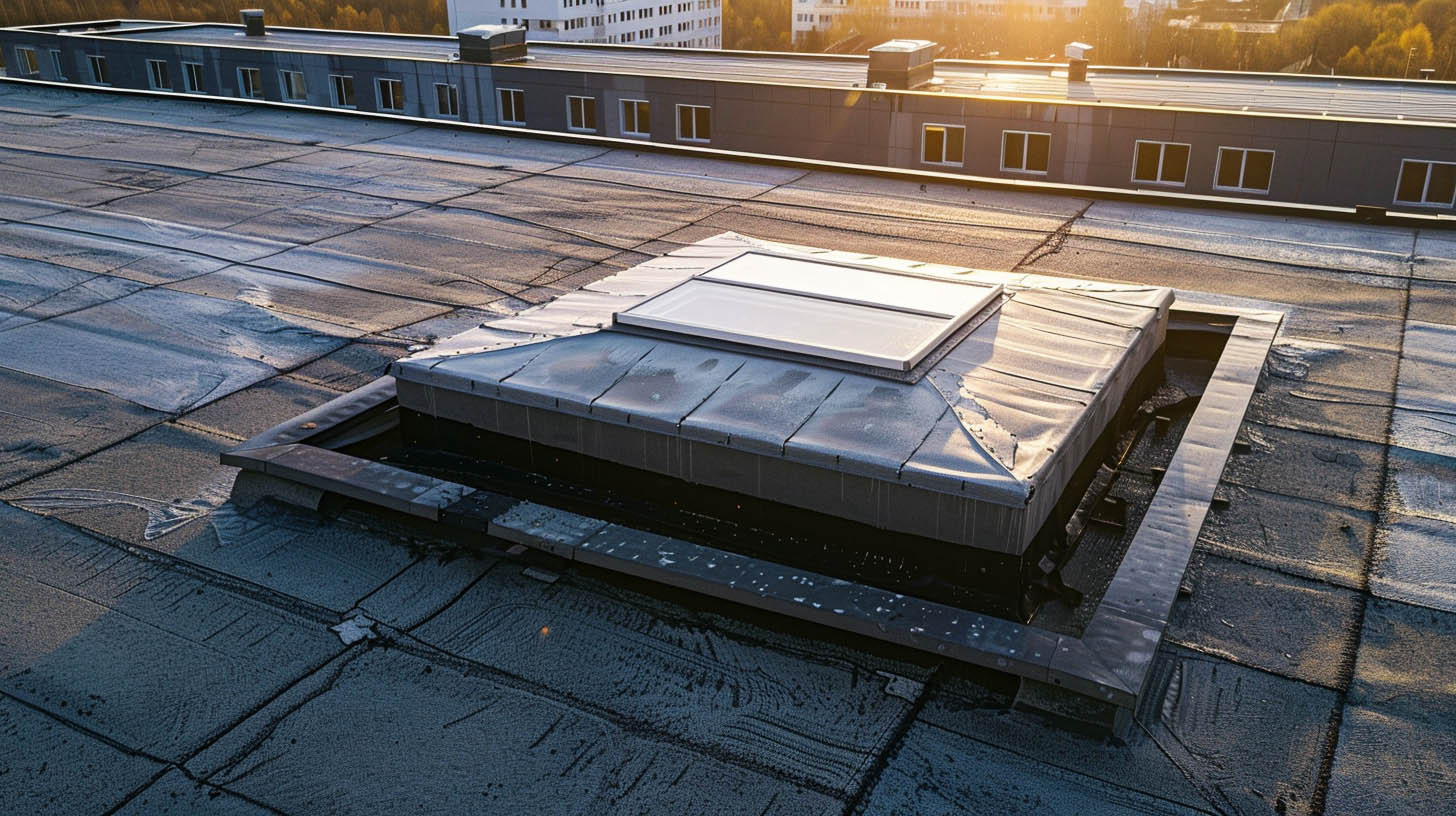
Flashing around roof penetrations, such as hatches, is essential to protect against water infiltration. In the context of built-up roofing—a popular choice for commercial buildings due to its durability and resistance to weather extremes—the application of hot bitumen plays a key role in achieving a watertight seal.
Understanding Built-Up Roof Systems
A built-up roof consists of multiple layers of bitumen interspersed with reinforcing fabrics, creating a thick, durable roofing membrane. The complexity of these layers makes proper flashing around roof openings both challenging and critical.
Preparing for Hot Application Flashing
Successful flashing of a roof hatch begins long before the actual application of bitumen. Thorough preparation ensures safety and the effectiveness of the flashing process.
Safety and Precautionary Measures
Ensuring the safety of the application team is paramount. This involves:
Proper ventilation to mitigate the fumes produced during bitumen heating.Utilizing personal protective equipment (PPE) to prevent burns and inhalation of toxic gases.
Securing the roof hatch area to prevent falls.
Surface and Material Preparation
A clean and primed surface is crucial for effective adhesion. The steps include:
Cleaning debris and dirt from around the roof hatch.Applying a bitumen-based primer to enhance the bonding of the hot bitumen to the roof surface.
Hot Application Flashing Process
Step-by-Step Application
- Priming the Area: After cleaning, a layer of primer is applied to the area around the hatch and allowed to dry, preparing the surface for the bitumen.
- Applying Hot Bitumen: Heat the bitumen to the recommended temperature and apply it to the primed area, ensuring even coverage.
- Placing Reinforcement Fabric: Cut and place reinforcement fabric, such as polyester or fiberglass, into the hot bitumen. This layer is critical for enhancing the durability and waterproof nature of the flashing.
- Ensuring Complete Coverage: Additional layers of bitumen and reinforcement fabric may be necessary, depending on the roof's condition and the hatch size. Each layer should be thoroughly embedded into the bitumen.
- Sealing and Smoothing: The edges of the flashing must be meticulously sealed and smoothed to integrate seamlessly with the existing roof membrane, eliminating any potential entry points for water.
- Final Inspection: Conduct a detailed inspection to ensure the integrity of the flashing. Check for uniformity, proper adhesion, and absence of air pockets or gaps.
Importance of Professional Installation
Flashing a roof hatch on a built-up roof requires precision and expertise. Errors in the application process can lead to leaks, structural damage, and costly repairs. Professional roofing contractors, like those at Summit Exteriors, bring years of experience and a commitment to quality to every project, ensuring that such critical tasks are executed flawlessly.
Why Choose Professional Services
Expertise in Complex Roofing Systems: Professionals understand the nuances of built-up roofing and are equipped to handle the challenges associated with flashing around roof penetrations.Quality Assurance: Using high-quality materials and adhering to industry-best practices, professional roofers ensure that the flashing not only meets but exceeds performance expectations.
Long-Term Cost Savings: Proper installation by experts prevents future leaks and structural issues, significantly reducing potential repair costs.
Conclusion
Flashing a roof hatch using the hot application method on a built-up roof is a complex but crucial task that ensures the longevity and integrity of commercial buildings. Entrusting this task to professionals like Summit Exteriors in Coeur d'Alene, ID, guarantees that your property remains secure and protected from the elements, saving you from future expenses and hassle.
